Introduction
In this blog post, we are going to make a splash screen animation using Rive (formerly known as Flare). One of the benefits of using Rive is that it reduces boilerplate code when creating animations. First, we are going to design our animation, then we are going to implement it to the default flutter project. We will cover this in two parts. One being design of the animation and the other is implementation.
Part 1: Design and Animate
Go to rive.app, create your account. Then create a new flare project. This what it will look like:
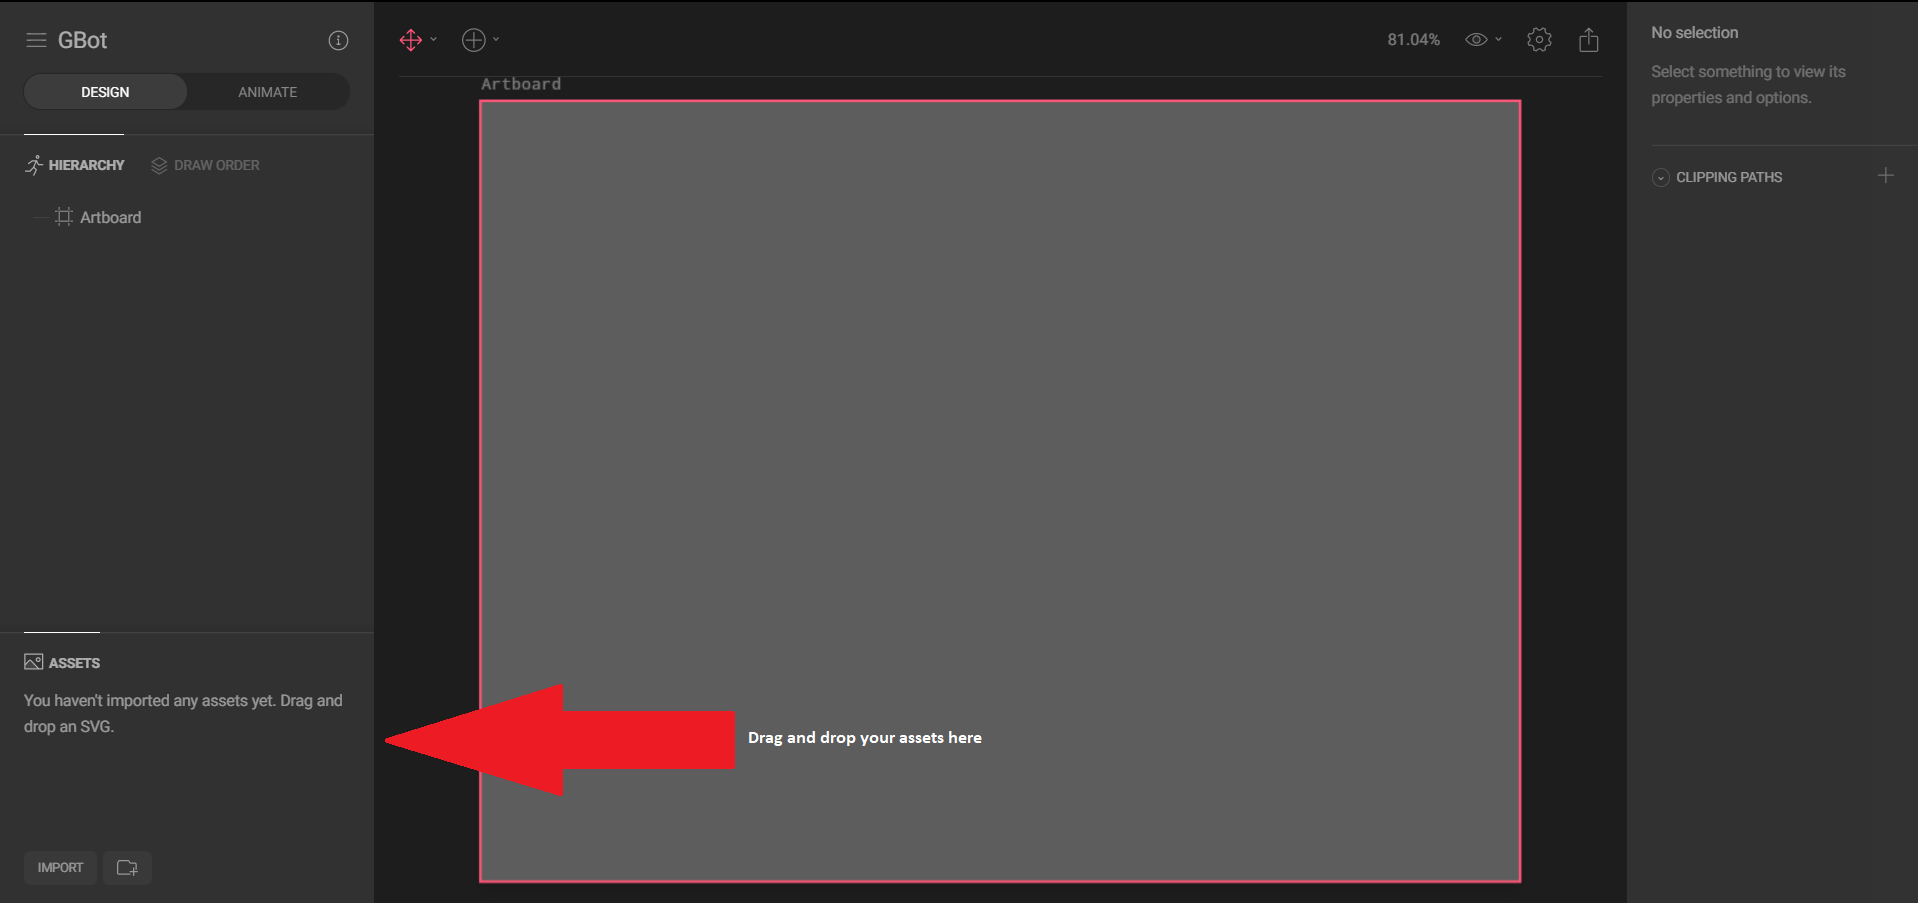
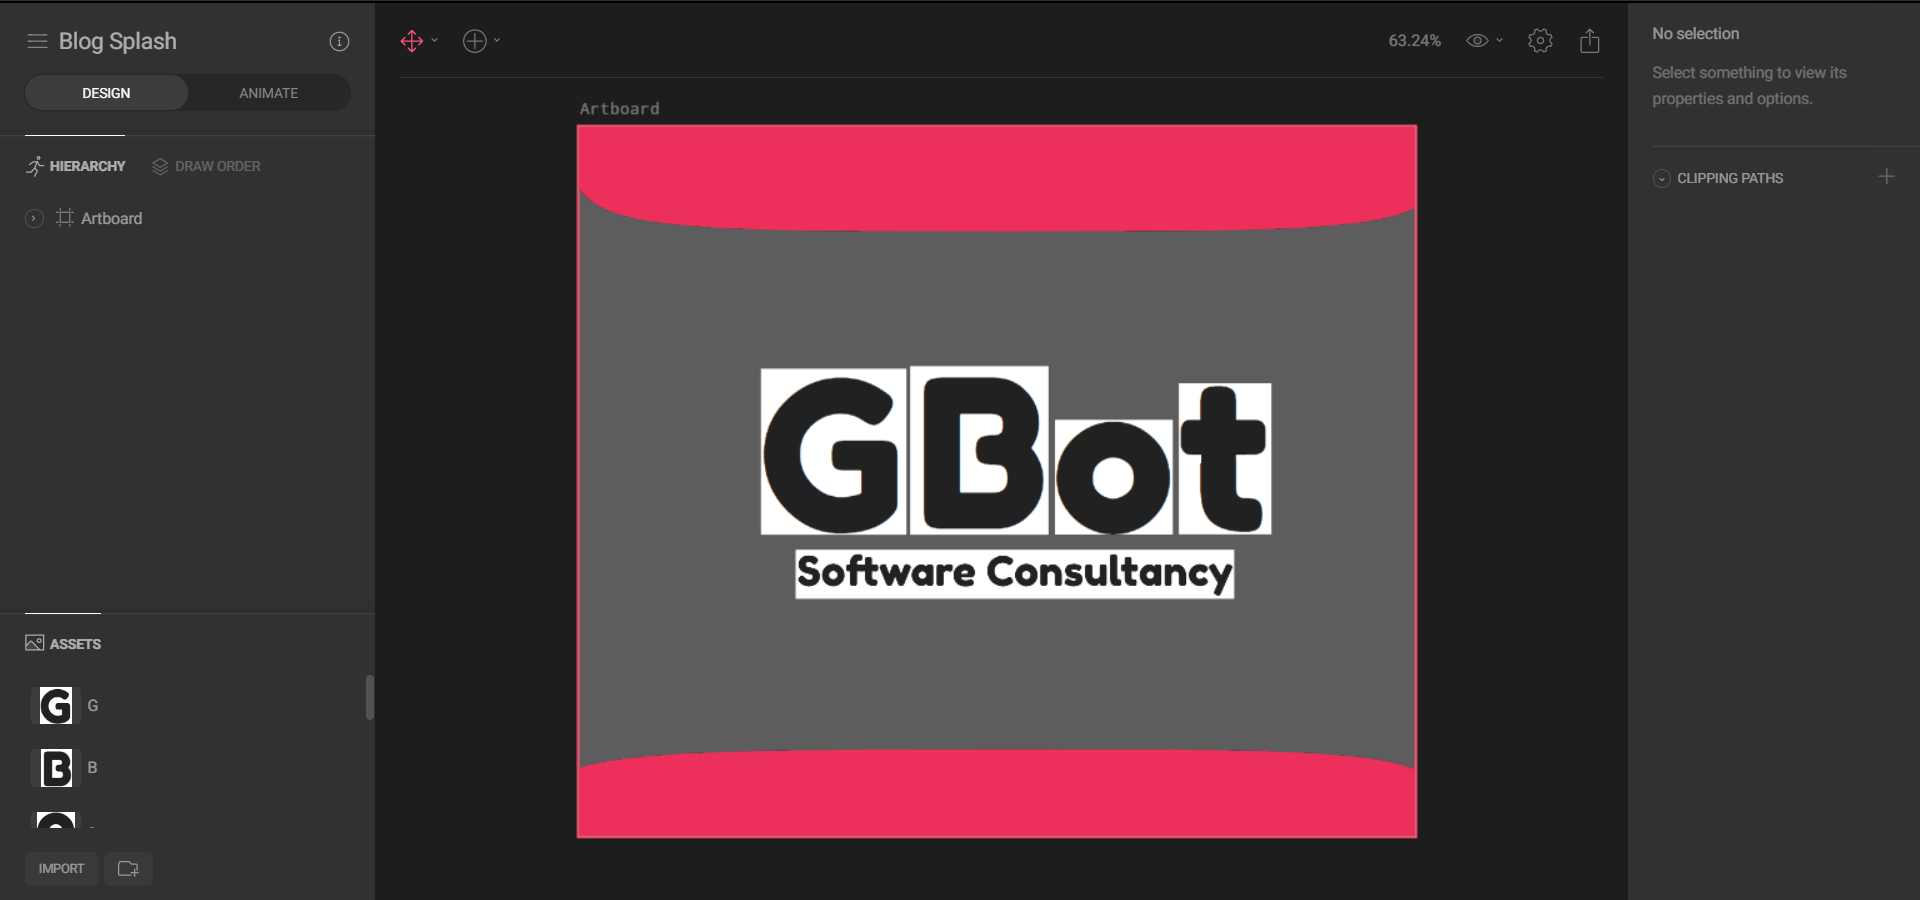
After you drag and drop your assets, position your design as you desire. Then proceed to the animation tab. We can animate almost anything on the shape.
Some useful hotkeys when animating:
- T for translate, move shapes around.
- S for scaling the shapes.
- R for rotating the shapes.
- ctrl+z to undo
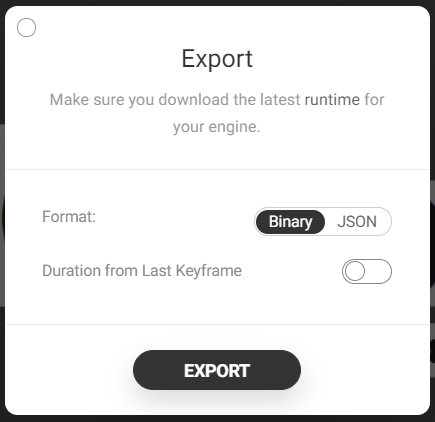
When you are done with animating export your .flr file in binary format.
Part 2: Flutter Integration
Rive provides a package that makes it really simple to use our animations into an iOS or Android app with Flutter. First, create a default Flutter project. You can do that following the steps below. We are using VS Code as IDE.
To create a new Flutter project from the Flutter starter app template:
- Open the Command Palette (
Ctrl+Shift+P(Cmd+Shift+Pon macOS)). - Select the Flutter: New Project command and press
Enter. - Enter your desired Project name.
- Select a Project location.
Now your default project should be ready.
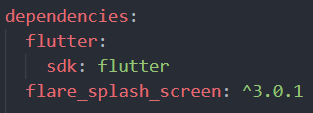
Add flare_splash_screen to the pubspec.yaml, under dependencies.
Create an assets folder within your flutter project and add the .flr file you exported to assets.
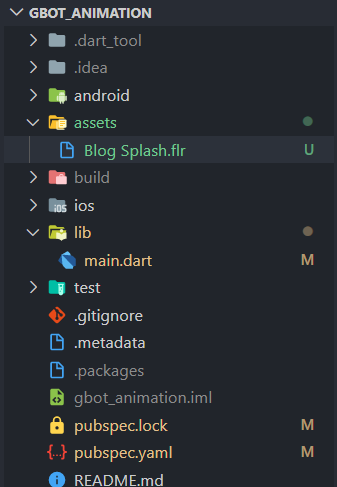
Now go and activate your .flr file in pubspec.yaml. Just type the path of the file under assets.

Saving something in pubspec.yaml file automatically runs “flutter pub get” in VSCode. If it does not you can type flutter pub get in the terminal.
After adding dependencies and assets we need to import the package in the main.dart like so.

Then we go to our main section.

In “home” we give SplashScreen.navigate widget.
- Name -> We type the destination of your .flr file.
- Next -> Give the next widget to be displayed. In this case, we navigate to the homepage.
- Until -> Duration of the animation on the screen.
- startAnimation -> Name of the animation. It is “Untitled” by default. You can change this on rive.app.
- backgroundColor -> Background color of the splash screen.
- fit -> This makes the animation fit the whole screen.
GitHub repo of the project: https://github.com/FercanSen/gbot-animation
[…] clindamicina para que es[…]
clindamicina para que es